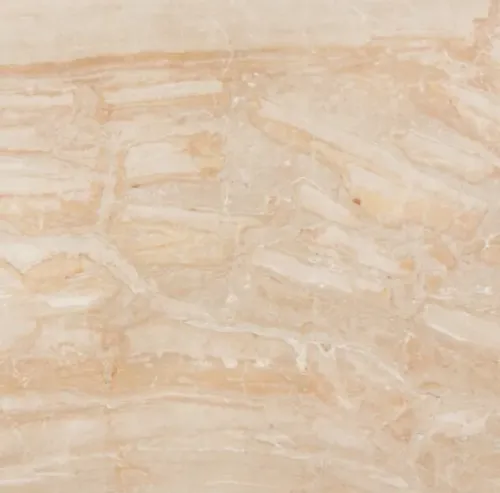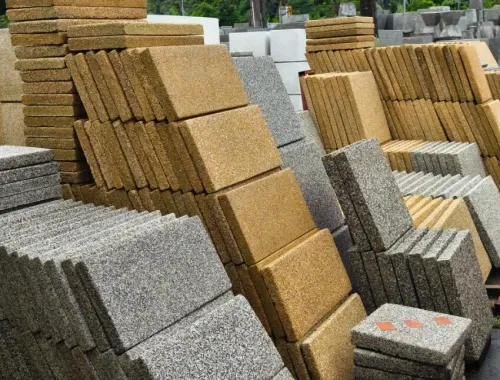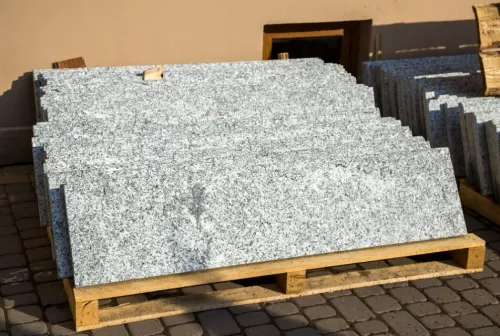

A high-end project can lose performance, budget, and visual consistency when one attractive stone is specified across locations with different demands. You will be able to divide the property by use, compare marble, granite, quartzite, limestone, sandstone, onyx, and engineered alternatives, then approve slabs, quantities, and installation details with evidence rather than appearance alone.
Key takeaways
- Create a stone schedule for every exposure zone, not just every room.
- Match porosity, hardness, finish, and thickness to the site conditions.
- Reject natural stone when maintenance, staining, or structural demands exceed its limits.
- Approve full-slab layouts and mock-ups before fabrication begins.
Start with a Stone Schedule for Every Project Zone
Divide the property by performance conditions, not by room names alone. A stone schedule should assign each zone its exposure, traffic, moisture, chemicals, sunlight, maintenance method, finish, thickness, support, and visual intent before high-end real estate stone selection begins.
| Zone | Record before selection | Typical risk to flag |
|---|---|---|
| Façades | Rain, sun, pollution, anchorage, thermal movement, freeze-thaw exposure | Panel failure, staining, or water ingress |
| Entrance lobbies and lift surrounds | Foot traffic, wheeled loads, abrasion, cleaning chemicals | Scratches, worn finish, visible seams |
| Kitchens | Oil, acids, heat, cut-outs, overhangs, edge profiles | Etching, staining, or fracture at openings |
| Bathrooms and pool areas | Constant wetting, drainage, barefoot traction, chemicals | Slipping, discoloration, or biological growth |
| Terraces and landscape features | Outdoor weather, drainage, thermal movement, soil contact | Cracking, efflorescence, or frost damage |
| Staircases | Tread depth, nosing, impact, slip performance, support | Broken edges or unsafe wet treads |
| Commercial high-traffic zones | Visitor volume, carts, replacement access, cleaning frequency | Rapid abrasion and difficult repairs |
For every zone, attach the approved finish, joint pattern, slab direction, vein continuity, and acceptable filled or unfilled fissures. A small sample cannot represent strongly veined stone, open fissures, or bookmatched slabs.
- Approve the actual slabs or a slab layout before fabrication.
- Mark face selection, grain direction, seams, miters, sink cut-outs, cooktop openings, and unsupported overhangs.
- Require testing from a representative batch for the intended use, not a compressive-strength result alone.
Match the Stone’s Properties to Its Actual Exposure
A polished marble floor can look exceptional and become dangerously slick when wet. Specify slip resistance for the actual finish, not the stone category: honed, brushed, flamed, or textured surfaces usually provide better traction than polish but alter cleaning, reflectance, and scratch visibility.
| Category | Strong fit | Main exposure risk |
|---|---|---|
| Granite | High-traffic floors, façades, kitchens; strong abrasion resistance and low water absorption in many varieties | Confirm flexural strength, stain resistance, and the exact quarry |
| Quartzite | Floors, stairs, façades, and kitchens needing hardness and scratch resistance | Verify that the marketed stone is genuine quartzite and test water absorption |
| Marble | Dry lobbies, lift surrounds, feature walls, and low-abrasion interiors | Calcite-rich varieties etch from lemon, vinegar, wine, and acidic cleaners |
| Limestone | Calm interior floors, walls, and selected façades | Porosity, lower abrasion resistance, staining, and acid etching |
| Sandstone | Terraces, landscape work, and textured exterior surfaces | Water absorption, weathering, staining, and freeze-thaw damage |
| Onyx | Backlit walls and protected feature panels | Softness, scratching, staining, and fragile fabrication |
| Engineered stone | Consistent kitchens or high-use interiors where uniformity matters | Confirm heat, ultraviolet, moisture, and joint performance for the product |
Use representative samples for water absorption, bulk specific gravity, flexural strength, compressive strength, and abrasion resistance. A sealer slows liquid penetration; it does not make porous stone stain-proof. Match façade stone to anchorage, joint design, substrate movement, and freeze-thaw exposure, then record the exact variety rather than only “marble” or “granite.”
Recognise When Natural Stone Is the Wrong Specification
Reject a stone when its appearance forces you to ignore the exposure. On a terrace, pool deck, or public lobby, choose engineered alternatives when consistent thickness, lower porosity, tighter colour control, or easier replacement matters more than geological character.
A substrate that moves, traps water, or lacks drainage will crack or debond even when compressive strength looks impressive.
| Choice | Choose it when | Main warning |
|---|---|---|
| Engineered alternatives | You need repeatable colour, calibrated dimensions, low maintenance, or a thin, uniform system | Confirm heat resistance, UV stability, stain resistance, and expansion compatibility |
| Different finish | The stone performs well but the surface creates glare, scratches, or polished finish slip risk | Compare honed, brushed, flamed, or textured samples for traction, cleaning, and wear |
| Different natural stone | The selected stone fails abrasion, flexural, chemical, or absorption testing for its zone | Do not rank stones by compressive strength alone; test the intended application and representative batch |
| Different material altogether | Water, chemicals, heat, movement, or impact exceed natural stone’s practical tolerance | Consider porcelain, concrete, metal, or another system with suitable joints and anchorage |
For New Delhi exteriors, dark polished surfaces can become hot in direct sun, while porous limestone or sandstone can retain dust and show uneven monsoon soiling. Detail thermal movement, joints, mechanical anchorage, and drainage before approval.
Specify freeze-thaw exposure testing where the project climate demands it. If the substrate deflects or rigidly meets another material, change the assembly—not merely the stone.
Inspect Full Slabs and Plan the Layout Before Fabrication
Approve the actual slabs before fabrication, not a small sample. Strong veining, open fissures, colour movement, and bookmatching can make one slab look unlike the next. Mark the face, grain direction, vein continuity, acceptable inclusions, and any features that must remain filled or unfilled.
1. Check slab thickness, flatness, edge condition, and corner damage under strong, even lighting. A warped slab or thin area can complicate seams, mitres, overhangs, and cut-outs.
2. Record every resin fill, open fissure, seam-like mark, mineral inclusion, and mesh backing. Resin fill is not automatically a defect, but disclose its colour, extent, and likely visibility after polishing; never place an open fissure through a sink cut-out, anchor point, or narrow edge without an engineered detail.
3. Dry-lay the actual slabs against the elevations and join lines. Confirm bookmatch direction, vein continuity, face selection, seam positions, lighting effects for onyx, and the location of cooktop openings, basins, mitres, and unsupported overhangs.
4. Calculate each zone separately: net measured area + fabrication waste + a replacement reserve, then divide by the usable area of the approved slabs. Exclude damaged edges, unusable fissure zones, cut-outs, and offcuts that cannot meet the design. Do not combine visually different lots to reach a total.
Have the fabricator produce a slab map showing slab numbers, cuts, grain direction, seams, and remnants. Price and order against that approved map, not against a rounded square-metre estimate.
Use Mock-Ups, Testing, and Written Approval to Control the Outcome
Approve the exact slabs and a built sample before releasing fabrication. A small sample cannot predict strong veining, open fissures, resin fills, or the visual effect of a large bookmatched wall.
1. Request full-slab approval or a numbered slab layout showing face selection, grain direction, vein continuity, bookmatching sequence, and acceptable filled or unfilled features. Record rejected slabs and retain photographs with the purchase order.
2. Build a full-scale mock-up of the highest-risk area, such as a lobby wall, kitchen island, stair, shower, or backlit onyx panel. Include the proposed adhesive, grout, edge profile, joint width, lighting, support, and finish. A small illuminated onyx sample cannot predict a large panel’s brightness or fracture pattern.
3. Commission stone testing on material from the intended batch and application. Specify water absorption, bulk specific gravity, compressive and flexural strength, abrasion resistance, and wetting-drying or freeze-thaw durability where exposure demands it.
For kitchens and bars, test likely spills on the proposed slab; quartz-rich stone generally handles ordinary acids better than calcite-rich stone, but fills and fissures can change the result.
4. Put acceptance criteria in writing before installation: approved slab numbers, layout, finish, colour range, repair limits, seam locations, corner radii, reinforcement, overhang support, and replacement responsibility. Whether you work with Jaishree Stones or another dealer, require the supplier and project decision-maker to sign the same approval record.
Do not treat a strong compressive-strength result as approval for a thin tile, façade panel, countertop, or stair tread. The fabricated details still control failure.
Frequently asked questions
What should a natural stone schedule include?
List each zone’s traffic, moisture, chemical exposure, sunlight, maintenance method, finish, thickness, support, and visual intent.
How do you match natural stone to a project’s exposure?
Compare the stone’s porosity, hardness, slip performance, stain resistance, finish, and structural needs with actual site conditions.
When is natural stone the wrong specification?
Choose another material when the required maintenance, stain resistance, chemical resistance, uniformity, or structural performance exceeds the stone’s limits.
Why inspect full slabs before fabrication?
Full-slab inspection reveals veining, colour variation, fissures, and layout constraints that small samples cannot show.
How do mock-ups and written approvals control the result?
They let the project team confirm colour, finish, joints, edge details, and installation expectations before production and installation.